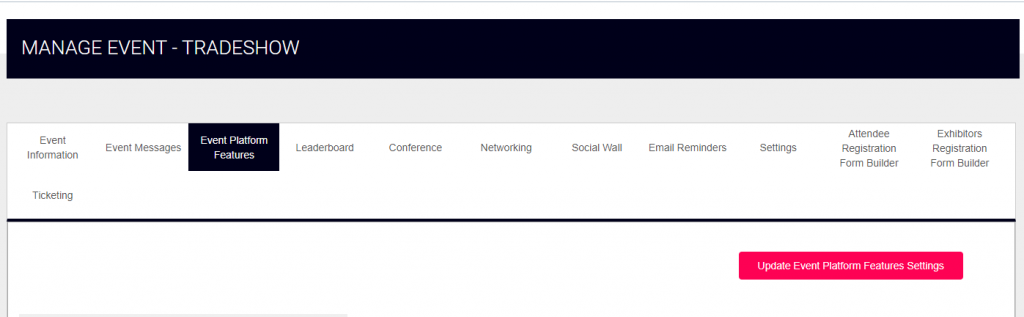
STEP 1: Go to Organiser Control Panel – Events – Manage Events – Event Platform Features – Check the Ticketing and payment feature is available and enabled for you event if not enable it.
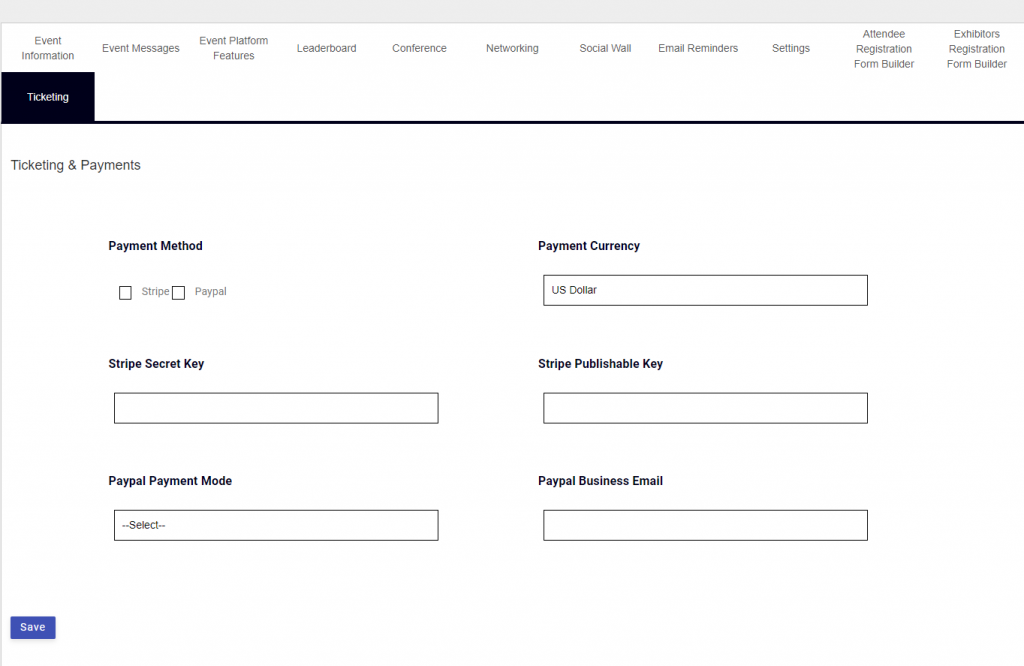
STEP 2: Go to Organiser Control Panel – Events – Manage Events – Ticketing – Choose your payment method and enter the details of your business account details and click Save.
STEP 3: Go to Organiser Control Panel – Left side menu list click Ticketing & payment menu – Subscription Plans.

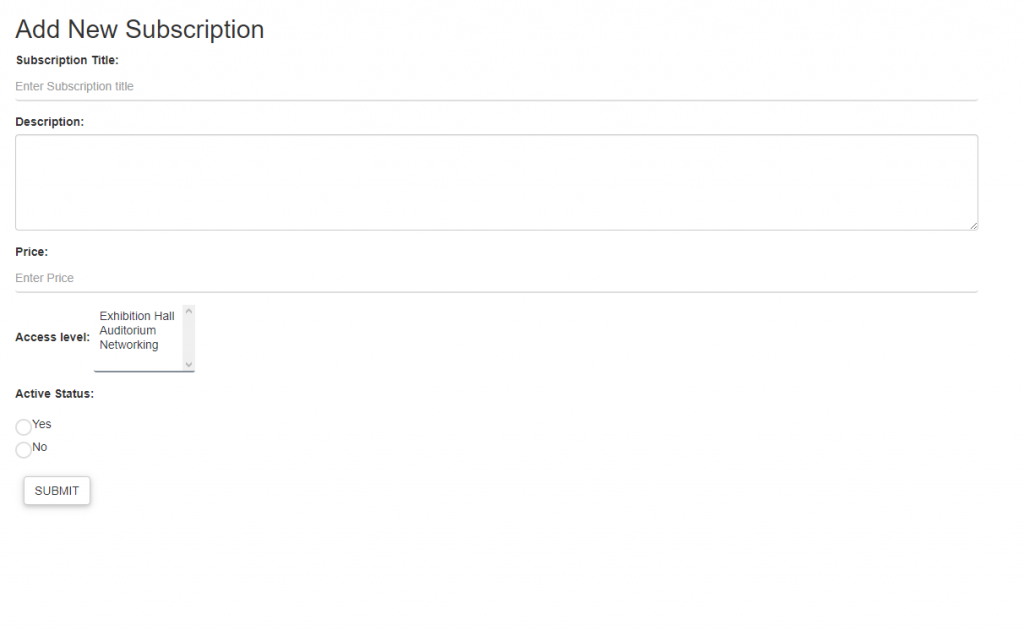
STEP 4: Add new plan in subscription plans menu and create your ticketing for the events.
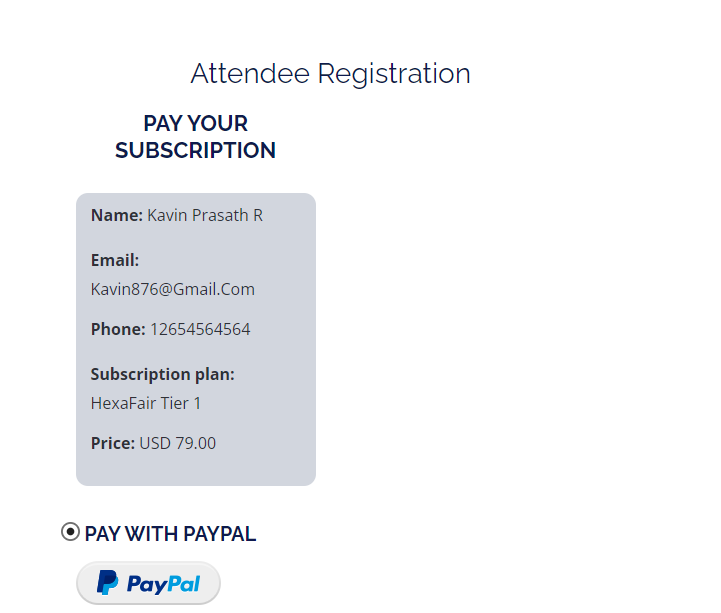
STEP 5: Now Go to event landing page – Attendee Registration Menu – Membership plans – Choose your plan fill all the details and click submit.

STEP 6: The page will redirect to the payment method which you chosen for attendee to pay the ticketing.
STEP 7: After the payment is completed, you can see the payment logs and all subscribers list inside the ticketing payment menu.
