STEP 1: Open the MUX Account, go to Settings – API Access Tokens – Generate New Token

STEP 2: Create New Access Token
- Choose the Environment as Production while you are in live whereas you can choose the development for testing the live streams.
- Set the permissions with MUX Video (read & write).
- Give the Access Token title
- Generate Token

STEP 3: Copy the Access Token ID and Secret Key and Click Continue
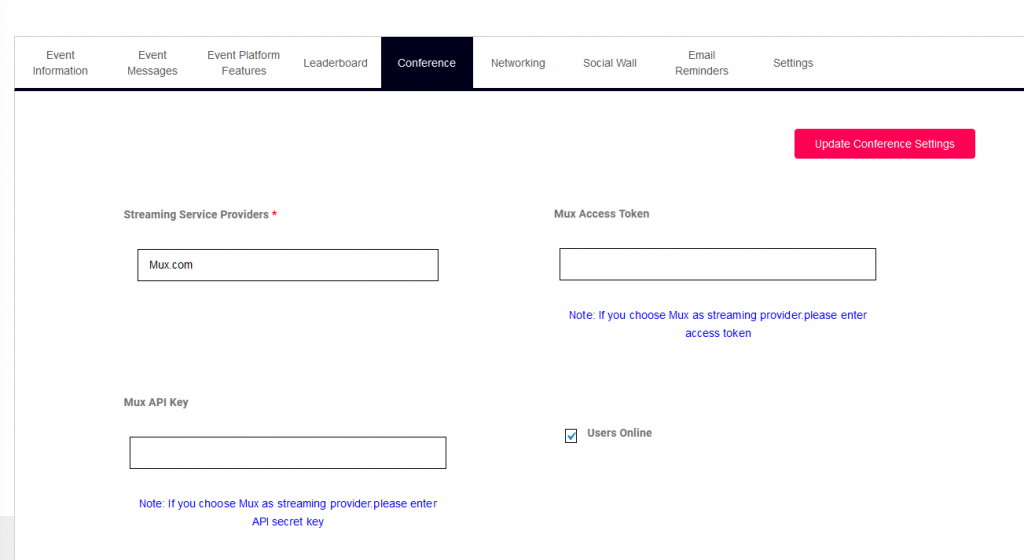
STEP 4: Open Organiser Admin Panel – Event Menu – Click EDIT EVENT – Conference – Here choose the Streaming Provider as MUX
- Enter the Copied Access Token ID from MUX and Paste it here.
- Enter the Copied Secret Key from MUX and Paste it here.

STEP 5: Go to Conference Management – Sessions – Add New Session. Fill all the details which are required for Live Sessions.
STEP 6: RTMP URL, RTMP KEY and Livestreaming Video Id will be auto-generated after clicking on submit button for each session.

STEP 7: After successfully created some new sessions, Edit the created session to see the auto-generated values inside the RTMP URL, Stream Key & Video URL boxes.
STEP 8: First we have to create a zoom meeting with a PAID ACCOUNT. (Note: Only for paid accounts this feature works contact HexaFair team for any help according enterprise account).
STEP 9: Once, after the meeting has been hosted you will see a MORE BUTTON at right last corner in MEETINGS CONTROL PANEL.

STEP 10: By clicking on that you will see an option called LIVE ON CUSTOM LIVE STREAMING SERVICE.

STEP 11: Once you click on that you will directly take you to a web page asking for CUSTOM LIVE STREAMING URLS like the following screenshot.

STEP 12: Copy the Values from created session(step6) and paste it in above screen. E.g.: RTMP URL to Streaming URL & RTMP KEY to Streaming Key & Live streaming Video ID to Live streaming page URL and Click Go Live.
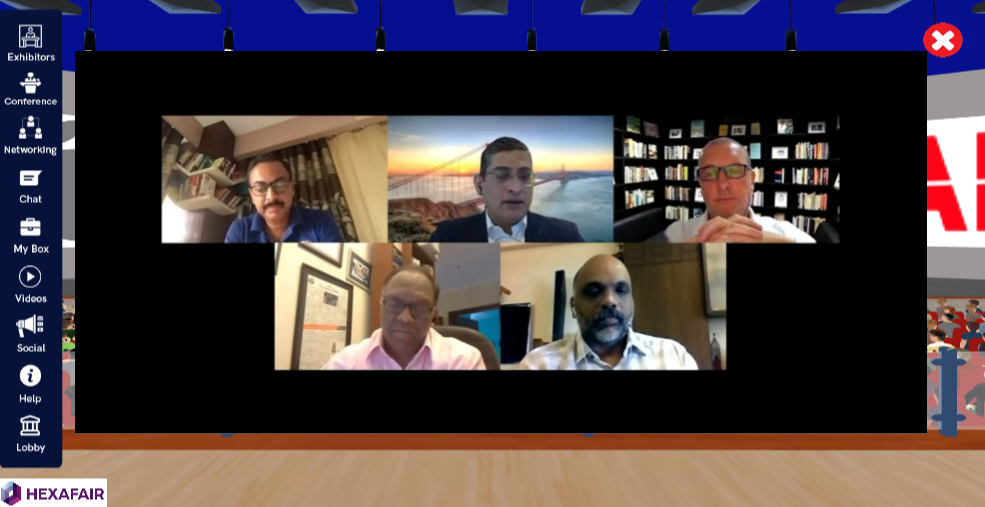
STEP 13: Streaming started in Zoom and now you watch the streaming inside the HexaFair Attendee Platform Auditorium.


